6 vegetables you can re-grow from food scraps
Genius hacks to reduce your food waste and grow your own veg

If there’s one thing we’re all appreciating more amid the Coronavirus pandemic, it’s the value of food. And now is the perfect time to learn how to make your produce go further. So if you’ve been chucking out the ends of herbs or letting your spring onion tips go to waste, then you need to read this!
We spoke to Emilie Vanpoperinghe, food waste expert and co-founder of food-waste-fighting fruit and veg box service Oddbox to find out easy ways that you can re-grow food from vegetable scraps. The best part is, all you need to start are some vegetable ends and scraps, a little sunshine and water – plus a good dosage of TLC, of course. Before you know it, you’ll have a much more sustainable way of eating that provides you with delicious vegetables, all from something that you might otherwise have thrown away!
LIVING LETTUCE
2 - 3 weeks
Place the stem in water, making sure it covers no more than two-thirds, and leave in a spot with plenty of light. Fill up and change the water when it needs (typically if it gets a bit cloudy).
If you have the space, then transfer the little shrub to soil, which will allow for better growth. If a window-sill and empty jar is all you’ve got, this’ll do just fine!
Ensure you cut from the outer leaves and leave a small inner core. Then just keep eating and regrowing in this beautiful circle of life for as long as your lettuce allows you.

SPRING ONIONS
From spring onions: 1-2 weeks
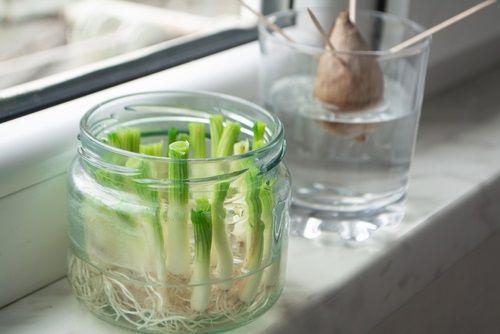
Leave about an inch from the roots, and pop them in a shallow glass of water so that the tops aren’t submerged. Change the water every few days and watch the green shoots continue to grow.
Cut what you need from the tops, and the spring onions will grow for as long as you take care of them!
From onion ends: 2-4 weeks
Leaving about a half-inch up from the roots of the onion attached, place it directly in a small pot of soil and cover it with a layer of soil, keeping it in a sunny spot.
Water it every day to keep the soil nice and moist. You should begin to see the spring onion shoots come up in a few weeks.
CELERY
1-3 weeks
Leave around 1-2 inches from the base of celery, and place down in a small bowl/glass of water in a sunny spot. After the first few days, you’ll see new leaves begin growing from the middle, and roots begin to grow.
Transfer the celery shrub to a small pot of soil, making sure to keep it in as much direct sunlight as possible each day, watering it generously for it to grow its stalks to full length.

CORIANDER, BASIL & OTHER CUT HERBS
2-3 weeks
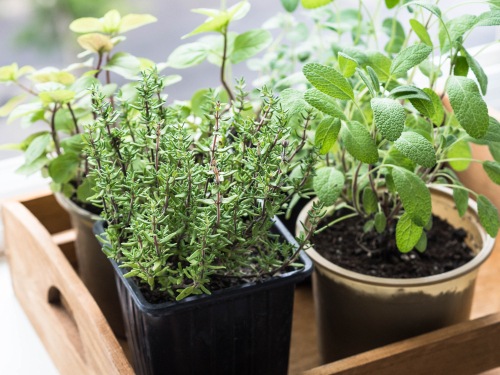
Ensure that there’s around 2-3 inches left of the stem of your herbs, and place them upright in a tall glass of water. The new roots should start to sprout after the first week, after which you can transfer them into a small pot of soil for your windowsill, making sure not to over-water them.
Once the herbs have begun flourishing, make sure never to pick out more than a third of the plant.
LEEKS
1-2 weeks
Leeks regrow much like celery and spring onions, the only difference is the sheer size of them!
Leaving 1-2 inches of the leek’s root ends, soak them root-first in a shallow glass/container of lukewarm water.
Place them on a sunny windowsill, changing the water fairly frequently. You’ll begin to see the leeks regrow from the middle within the first week.

GARLIC SHOOTS
1-2 weeks
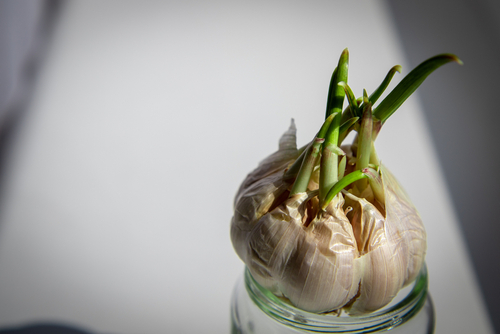
Plant your garlic cloves with their roots facing down in a small pot of potting soil. Sit in a spot with lots of direct sunlight, and you’ll begin to see the beginnings of the new shoot in a few days.
Alternatively, pop garlic that has sprouted slightly into a shot glass of water. These tops will continue growing and can be eaten just like spring onions.


